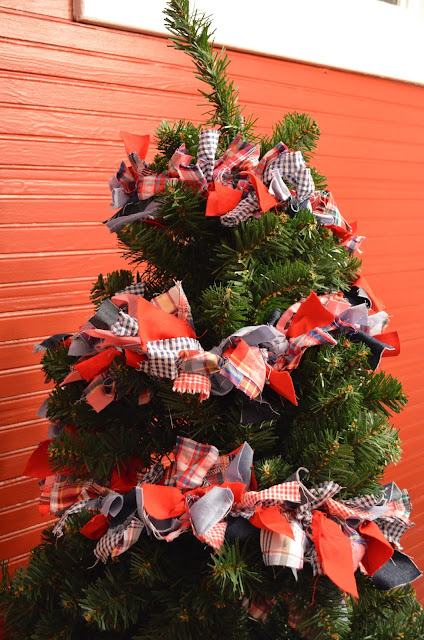
Here it is!
I had SOOOO much fun with Amber when we got together for a little garland making. We saw the idea at the Hoschton festival we all went to and she let me dig thru her scrap fabrics in her studio to make my very own!
She made hers for her mantle and actually used lights as her twine. One of the fabrics she used was an old bridesmaid dress and it ended up being GORGEOUS! Word on the street is her tree is already up too. I can't WAIT to see it!!
Well let's get started!
You will need:
fabric of your choice
scissors or handle rotary cutter
cutting board
twine
iron (if fabric needs to be smoothed)
1.
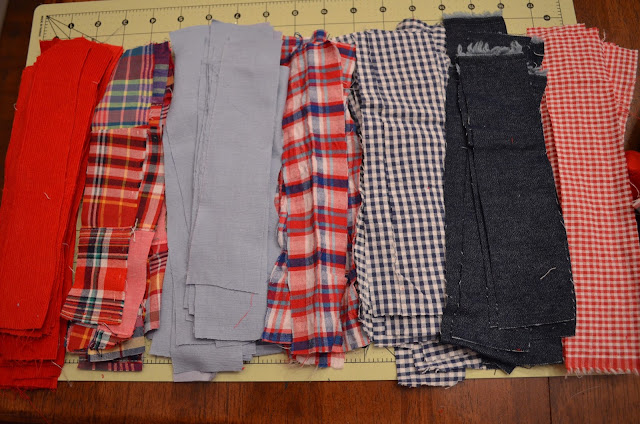
Start out by cutting your fabric into 9x2 strips.
I started out with the scissors but soon changed to the rotary because its faster and easier. Amber is a pro-fess-ion-al with that tool.
Just a warning you will cut and cut and cut and when you feel like you are finished I suggest to cut a little more.
2.
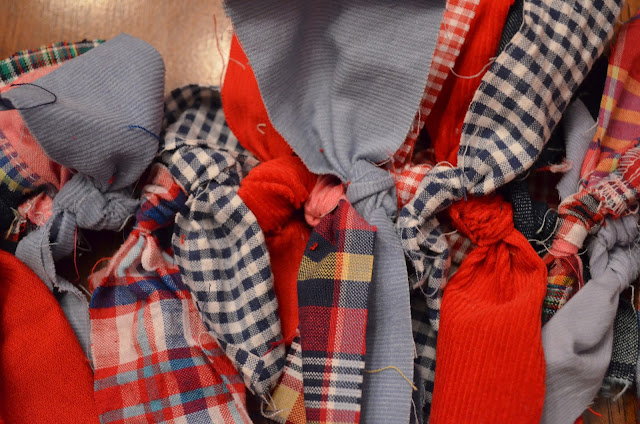
I tied a knot at the end of the twine to make sure my fabric didn't slide off..
3.
And then I just started tying and tying and tying. Some were double knotted and some were single... like the corduroy because it was super thick so most of that fabric was a single knot.
4.
Tie the end of the twine when you reach your desired length and enjoy your garland!
Amber pointed out that I'll be able to use mine for not only Christmas but July 4th and more!
YAY!


0 comments:
Post a Comment